Question
7: Looking back at your preliminary task, what do you feel you have
learned in the progression from it to the full product?
I personally feel that my work has massively improved from what I started with at the Prelim; it has been amazing to see how myself and the members of my group have developed our skills for our final film.
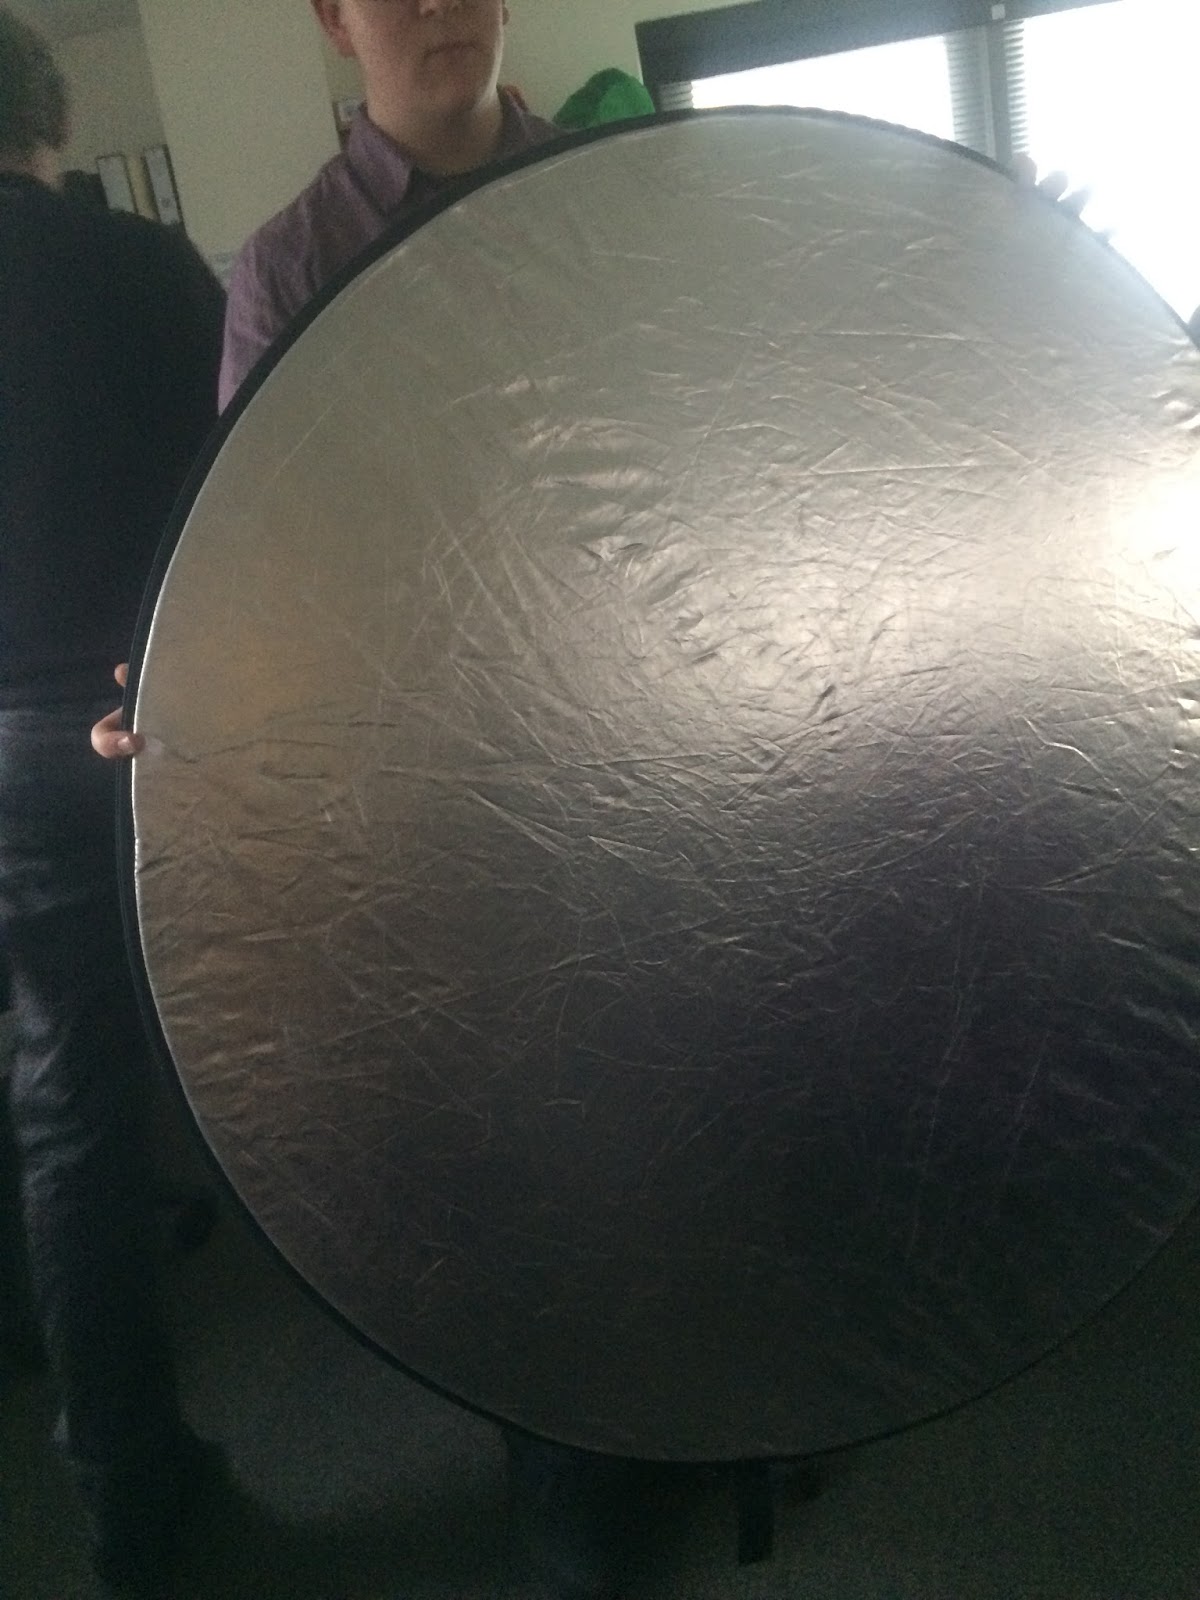
Mise en Scene
Hair and Makeup
 |
| No makeup in Prelim |
 |
| Eye-shadow in the final piece |
In terms of Mise en Scene, I feel that we have massively improved from the Prelim. For example, in the final product, we began to understand the importance of makeup and how it can really define the look of a character and exaggerate their facial expressions. As a result, we got the actress to use strong gold eyeliner, when filming at Turners Hill, as it wouldn't matter with the colour as we would have been applying a black and white filter anyway. In doing so, this allowed for the audience to really relate to the character in the final film so that the message was more prominent.
ColourFollowing on from colour, we didn't take the chance to work with the colour in post-production editing for the prelim so it was used well in the final piece. For example, the entirety of the filming at Turners Hill was with a black and white filter, clearly showing to the audience that there were two distinct differences in location. This wasn't the case in the prelim so it simply wasn't needed. I feel that our decision to change the colour of these shots has made our sequence so much clearer to the audience and therefore, lead to a successful film.
Lighting
 |
| The LED Lamp |
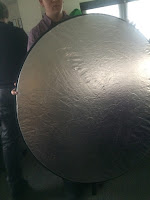 |
| The Photosen Light Refelctor |
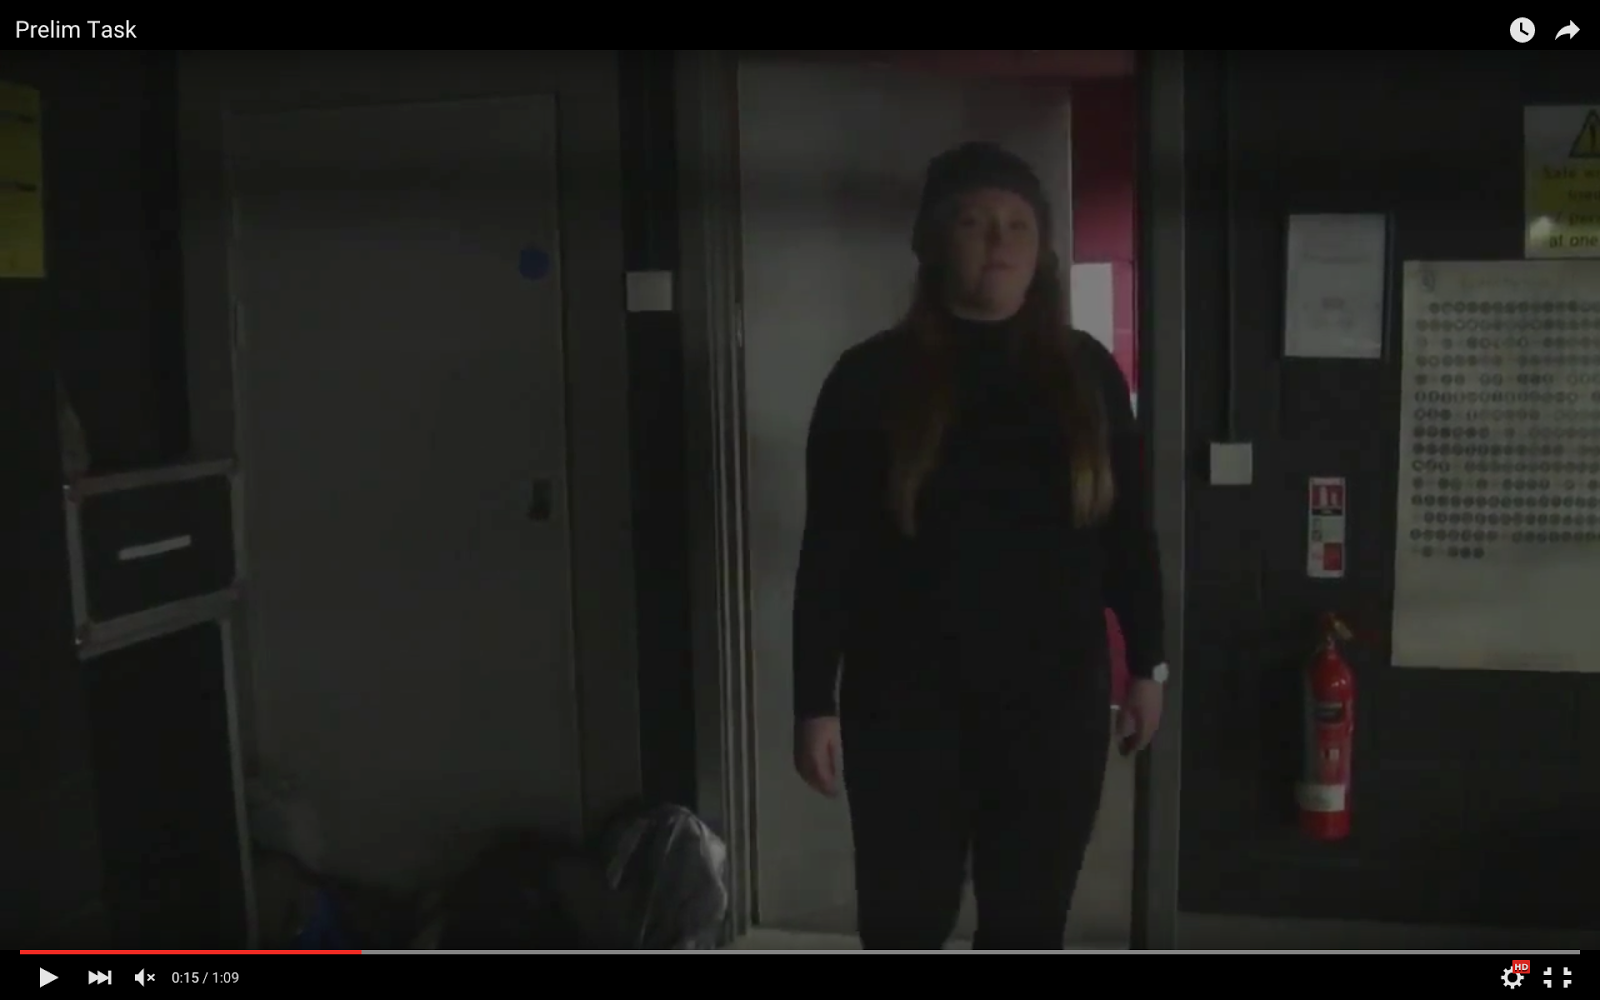
Between the prelim and the final piece, our use of lighting has been consistent. This was mainly because we shot our prelim in a dark environment so it was necessary to do so because otherwise, nothing would show up on the camera. This was done through a LED light. In the final piece at Turners Hill, we used the same LED lamp but also a reflector screen that amplifies any natural light already in the room. This worked well when the sun went down and we were left in the room in the dark, which made it look more dramatic for the audience. Finally, we chose not to use any additional lighting equipment when we filmed in the woods because we wanted it to look natural, and therefore more relatable to the audience. Overall, I feel that as we learnt the importance of lighting in our prelim, was successfully used in our final product.
Positioning
 |
The characters in the prelim are more
towards the centre of the shot |
 |
The character in this shot, in the final
product, is slightly more to the right. |
Out of the two pieces, I personally feel that camera positioning was used less in the Prelim, but more effectively in the final piece. For example, this shot in the prelim shows the two characters in the centre of the shot and it isn't very interesting for an audience to look at, which isn't what you want in a thriller film. However, this shot in the is more effective just by having the main focus on the left of the frame, allowing for the audience to gather more information about their location whilst at the same time still see the main character. Although this isn't much, it still improves the piece because it is interesting for the audience to look at.
Body Language/Facial Expressions
 |
This shot in the prelim doesn't
show one clear facial expression. |
 |
| This shot clearly shows fear |
I personally feel that with the prelim, we didn't really focus on what the actors were doing in terms of their facial expressions, out of no fault of their own, I think I missed it when directing it. For example, this shot on the left could be mistaken for a neutral facial expression when the character was clearly angry, according to the dialogue. However, I feel that we massively improved with the final piece. For example, it is clear in the screenshot to the right that the character is scared, as shown through the wide eyes and the open mouth. Therefore, this has massively improved between the two films.
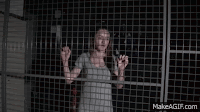
 |
The character smashes her
left hand against the cage |
 |
| The character clenches her fists. |
However, in terms of body language, it was more evident that the character was more angry. This is clearly shown by the fact that she is banging her hands against the metal cage. This is then more effective because it is clear to the audience what she is feeling so they can then more easily relate to her. Also, body language is further presented in the final piece because it is clear, in this shot, that the character also feels angry, as she's clenching her fist. Overall, I feel that the body language has been good, and remained consistent between both films.
Costume
 |
| The actor in full costume |
 |
| The black T-shirt |
 |
| The black jeans |
 |
| The black beanie |
Both of the films were minimalist in terms of costume, but both used them effectively. For example, in the prelim, her costume was black as it was clear to the audience that she was the antagonist of the scene. This theme of black is effective because the connotations suggest that she is the character that they need to be worried about. However, what should be noted is that the beanie caused some problems during the shoot. This was because when we were filming the shot-reverse-shot at two different times, the actor forgot to put back on her hat so there were issues with continuity but there was no time to reshoot that sequence. Therefore, we learnt a great deal from this and because of that, we didn't have this issue in the final piece.
 |
| The dress |
 |
| The second actors costume |
The other character's outfit was simpler; she wore a white top with black jeans and a bracelet for the woods scene and a plain white dress for the hall scene. The clear connotations of white shows to the audience that this character is the protagonist. This makes it less confusing for the audience and makes the actual sequence flow easily.
Props
 |
| The black backpack |
 |
| The newspaper clipping |
Like the costume, there were little props used but the ones used were effective to the prelim piece. For example, one of the characters used a backpack and inside was a newspaper clipping that both the other character and the audience could see. As you can see, the theme of black and white is also continued which allows for continuity. This then contributes to a flowing sequence that the audience can easily understand.
 |
| The mobile phone |
 |
The actress clearly wearing
the headphones |
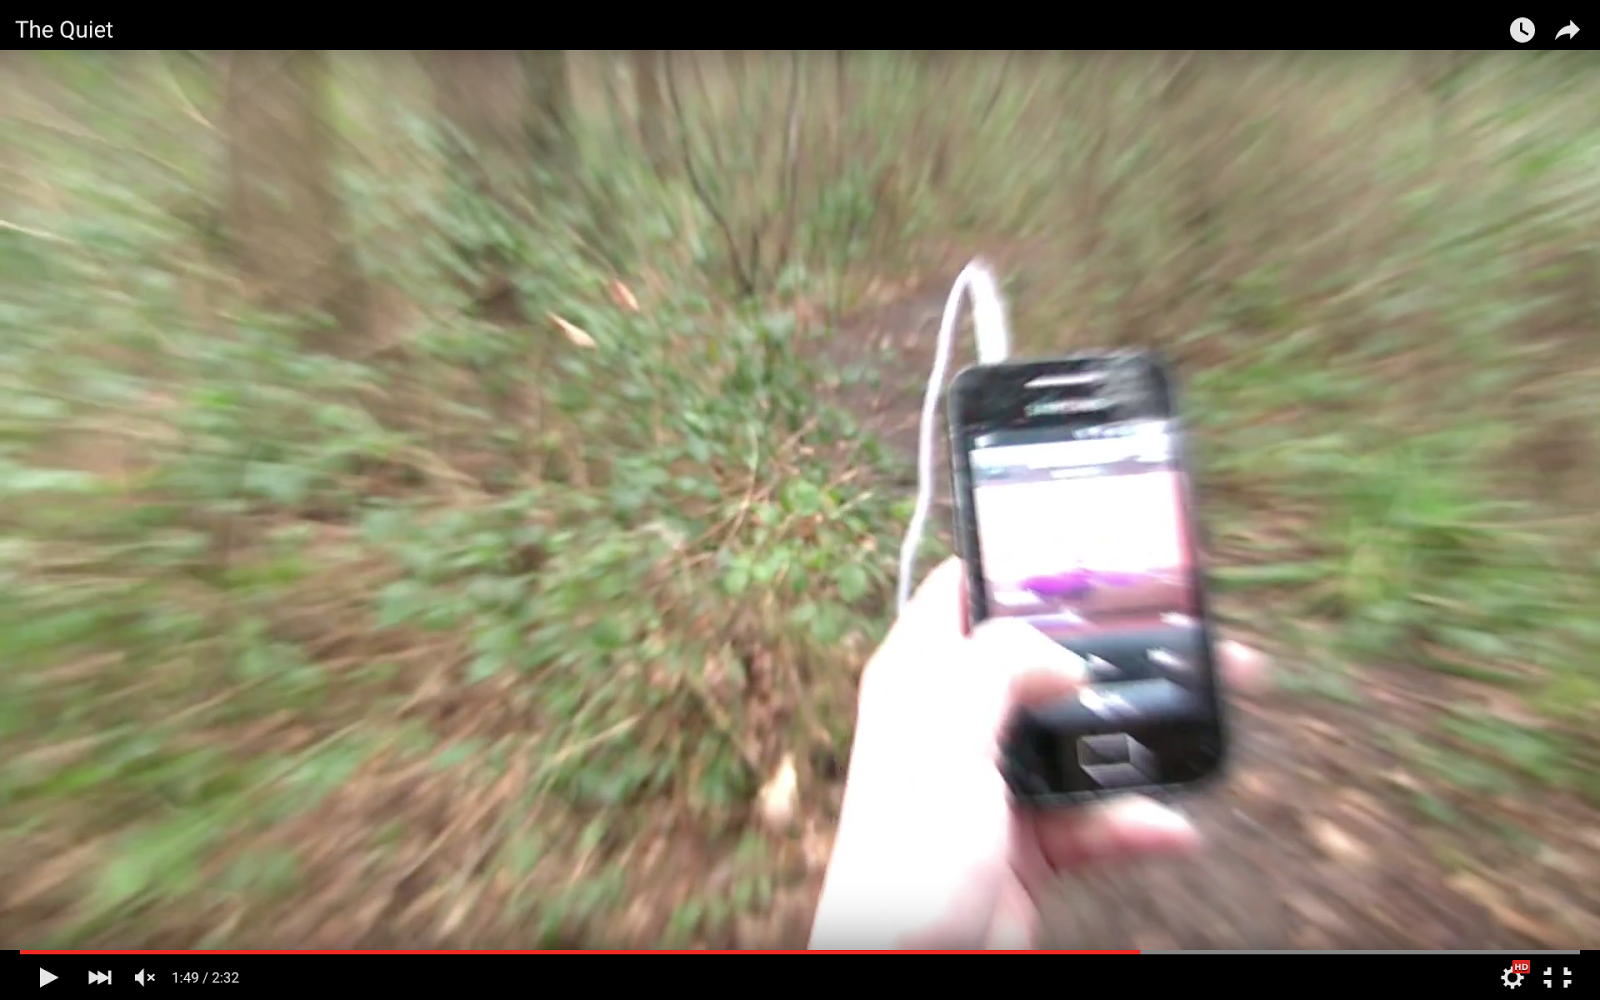
For the main sequence, the same amount of props were used; the character had white earphones and her phone. However, for the hall scene, we decided that the character wouldn't have any props on her so that the audience won't get distracted by them. As they are both something that every member of the audience would have on them, it makes the thriller more relatable and then more tense because of it. Therefore, I feel that the props we chose were a good choice, and were better than the ones we used in the prelim.
Setting/Décor
 |
| The lantern cage |
The two films had very different settings and décor depending on the location; the prelim was set in only one location - the lantern cage at CSC. As shown in the photo, the location provided the perfect way to establish the fact that the characters were in a dark and mysterious location, as amplified by the cage's bars. This then is perfect for the audience who then are intrigued as to where they are.
 |
| The gothic window at Turners Hill |
For the final piece, the two locations (Turners Hill and the woods) are extremely different to what we had to work with for the prelim; Turners Hill was the perfect location to shoot at because of the gothic window and the atmosphere that it creates when it's dark. This was better, in comparison to the lantern cage, because there were no classes down below that were a disruption to the dialogue. However, we chose not to record the dialogue because there was a natural echo which would be hard to reduce in post-production editing.
 |
| Haywards Heath Woods |
The woods were good for filming the visuals, but again, we chose not to record the dialogue there because there would be issues with the wind or rain disrupting the audio, which would then lower the quality of the thriller. Also, the connotations of the woods suggest to the audience that something dangerous will happen anyway, so it then gets them tense for the action.
I personally feel that the two locations that we used for the final product were so much better than what we used for the prelim because we learnt that recording dialogue in certain locations can be extremely hard. Therefore, the simplicity of the two made it so much easier to film, in comparison to all the problems we encountered during the prelim, lead to a smoother production.
Camerawork
Camera shots
For the two films, we used a wide range of shots. For example, in the prelim, we mainly used two-shots, long shots and close up shots.
 |
| Close up shot |
 |
| Two shot |
 |
| Long shot |
However, the final piece allowed for more variations of shots; for example;
 |
| Close up (SDOF out of focus) |
 |
| Mid shot |
 |
| Close up (SDOF in focus) |
 |
| Long Shot |
 |
| Very long shot |
 |
| ECU shot |
 |
| Establishing shot |
As shown above, we were able to use different techniques instead of just changing the shot types. For example, we pulled the focus on one of the first shots in a way that mimics the eye when it tries to focus in a brighter environment. This is then effective because it disorientates the audience, which is effective for a thriller because it makes them relate to the character.
I feel the additional amounts and variations of the shots allow for a more interesting and visually aesthetic, which is needed in order to keep an audience captivated in your sequence. The prelim didn't do this, and therefore, it is a visually boring sequence in comparison to the latter. Overall, I feel that the shot types we used led to a good sequence for the final piece.
Angles
 |
The worm-eye view shot in
the final piece |
 |
The low angle shot in
the prelim |
There was very few examples, in both the prelim and the final piece, of variation of angles. All of the shots in the prelim, apart from the one on the right which is a low angle shot, are centre shots. Also, the only key example in the final piece was the worm-eye view shot of the character on the left. I feel that this wasn't an effective decision because the film becomes boring, visually, to an audience that expects drama and action. However, the continuity of it all makes it understandable to an audience which is needed in a potentially complex plot. Therefore, I feel that our actions are justifiable because making the plot understandable is more important than making it look different.
Movement
 |
| Created with a Stedicam |
 |
As she walks through the door,
the camera moves with her |
The prelim had only one example of camera movement, which was at the beginning and isn't very noticeable. Although this is a good start, I feel that we could have improved the sequence further by adding additional camera movements that make it more interesting for an audience.
The final piece has the camera use a stedicam that follows the character, as shown in the gif to the left. This then creates a natural feeling that allows for the audience to be none the wiser for the action that is about to ensue. Therefore, this naturalistic, low-key camera movement is effective because it is a simple way to make the film visually stimulating whilst at the same time not contribute to making the audience suspicious. Overall, I feel that our camera techniques have improved since the prelim and, as shown above, it only takes little changes in order to massively improve a sequence. As a result, I am happy with the outcome in terms of our camera techniques.
Soundtrack
Backing-track
The way that the two soundtracks have changed is mainly from where they were sourced. In the prelim, we didn't have any restriction on where we could get the sound and as a result, I didn't take a note of where we got it from or if it was royalty free. However, the soundtracks for the final piece came from a royalty free website; meaning that we could use it for our project without having to pay for the person who owns the IP. Therefore, our knowledge on copyright law has been developed from the prelim to the final piece.
The soundtrack for the final piece can be found here and here.
Foleys
The issue of the Foleys in the prelim was that they sounded unnatural and slightly out of time. For example, from 00:13 - 00:24 of the prelim there was a Foley of footsteps. However, this felt unnatural because it sounded like high heels rather than the boots that the character is clearly wearing. Therefore, this lead to a film that is less of a thriller because an audience will easily spot this out.
As a result of the above, we decided to limit the amount of Foleys in the final production, or record the sound in real-time rather than add it in in post-production, and this is what we did. For example, from 00:34 - 00:37 of the final piece, the visuals show the character's feet walking over the foliage on the ground. In order to create this, we used the microphone from the camera, because we didn't mind the noise of the wind through the trees as it would create perfect ambient sound. Therefore, as it is now clear and natural looking, in comparison to the prelim, I feel that our actions have led us to create a good piece with our Foleys.
Dialogue
The issue of the dialogue was somewhat complex in the prelim, and it did cause some problems. As you can hear in the dialogue, which starts from 00:27, it sounds very patchy at places due to the excess sound from the theatre below. This is an issue because it makes the product sound like it was rushed in editing, when this wasn't the case at all. Therefore, the main thing that we learnt from this was that if you're going to record dialogue on set, you have to make sure that the background is quiet or you will get sound that doesn't match your thriller.
As a result from what we learnt from the above, we decided to use a narrator so that we could record it in post-production and edit it so that it fits in with the visuals. As we did this, I feel that it worked in our favor because the soundtrack sounds a lot more professional and we had more control in the way it was presented through editing without the actors. Therefore, we have definitely developed our technology in this sense.
Editing
Transitions
 |
| The cross dissolve |
 |
| Cuts are used between shots |
I personally feel that there was little variation of transitions between shots in the prelim. For example, as shown on the left, the majority were cuts between shots. However, the one of example of variation was the cross dissolve after the final shot, as shown on the left.
 |
The fade in and fade
out of the logo |
Due to the above, I feel that we learnt from our mistakes because there were a lot more examples in the final piece. This can be shown in the gif above, which automatically has more cross dissolves in the entirety of the prelim. However, the sequence doesn't use any fades or wipes as transitions because I feel that they would look unprofessional when we are trying to create a thriller sequence. Therefore, I am happy with the cuts and cross dissolves that we have used because they are sleek and unnoticeable, and a lot better than the ones in the prelim.
Continuity Editing
 |
| Shot reverse shot |
 |
The shot reverse shot
in the final piece |
In the prelim, we successfully used shot-reverse-shot in order to make the audience follow the storyline. This is where the editing allows for the two same styled shots to play after each other, as shown in the gif to the right. As we were able to successfully do this in the prelim, we also did this in the final piece, as shown in the gif to the left, but instead of using it between characters, we did it between the two locations. Therefore, what we learnt in the prelim allowed to effectively apply it to the final piece.
 |
| The failed match on action |
 |
| The working match on action |
Another technique was match on action. This is where the audience has a frame showing an object and in a later frame, it gets interacted with. We tried to do this in the prelim, as shown in the gif to the left, but this wasn't successful because there wasn't a shot change between when it first gets shown to the audience and when the door gets used. However, we then used the opportunity to improve by creating a working match on action. As shown in the gif to the right, this was far better to the one in the prelim because the audience gets to know what the character is brushing against before it actually happens, making it clearer to the audience, which is needed for a thriller.
|
| Eye-line match |
The prelim gave us the perfect opportunity to use eye-line match because there were the two characters to interact with. For example, the character wearing the hat is always looking up whilst the character behind the cage is always looking down, meaning that there is continuity between the shots. However, this didn't really apply to the final piece because we didn't want the audience to know that she was being followed until the very last minute. Therefore, as the gif shows that as we understand this technique, we decided not to use it in order to leave the audience in suspense and make it more effective when they look back at it.
 |
Starts filming with character
on right of frame, then at
the centre, then the left. |
 |
Filmed from the front
of the character |
The final technique was the 180° rule. This is where the characters are always on the same side of the camera in order to keep continuity. However, on occasion, the rule can be broken so that the audience has to analyse deeper in order to get used to the new order. For example, we only broke the rule once in the prelim, but apart from that the rest of the time it worked fine, as shown in the eye-line match gif above. However, we never broke the 180° rule in the hall scene of the prelim, as shown to the right, as it would be good in order to establish the character without confusing the audience. On the other hand, we decided to break the rule in the woods scene, as shown on the left, because it now allows the audience to understand that not all is what it seems in the woods. Therefore, the prelim taught us that it is ok to break the rules if it works with the effect that you're going for.
Titling
 |
| Titles from the prelim |
The main difference between the prelim and the main piece is
|
The first credit from the
final piece |
that there is titling with the sequence whereas there is very little in the prelim. I feel that the use of titling has been a massive improvement to our work because it looks like an industry-standard opening to a thriller sequence in comparison to it being rushed in the prelim. For example, we chose a more formal and appropriate font for the final piece because it serious like the themes the film explore. Therefore, we have clearly improved from the prelim because we left the graphics in a random place on screen that looks sloppy in what should look professional for effect after a serious message. As a result, I am happy with the improvements we have made.
 |
Final credit from
the final piece |
 |
Second credit from
the final piece |
Conclusion
Over the course of this portfolio, I feel that we have massively improved in comparison to the prelim, as I have highlighted above. I feel that my skills have developed so much and the group should be proud of what we have achieved. Overall, I feel that we have successfully created a sequence that would well as a thriller as a result of what we've learnt from the prelim.


Excellent Sam - level 4.
ReplyDelete